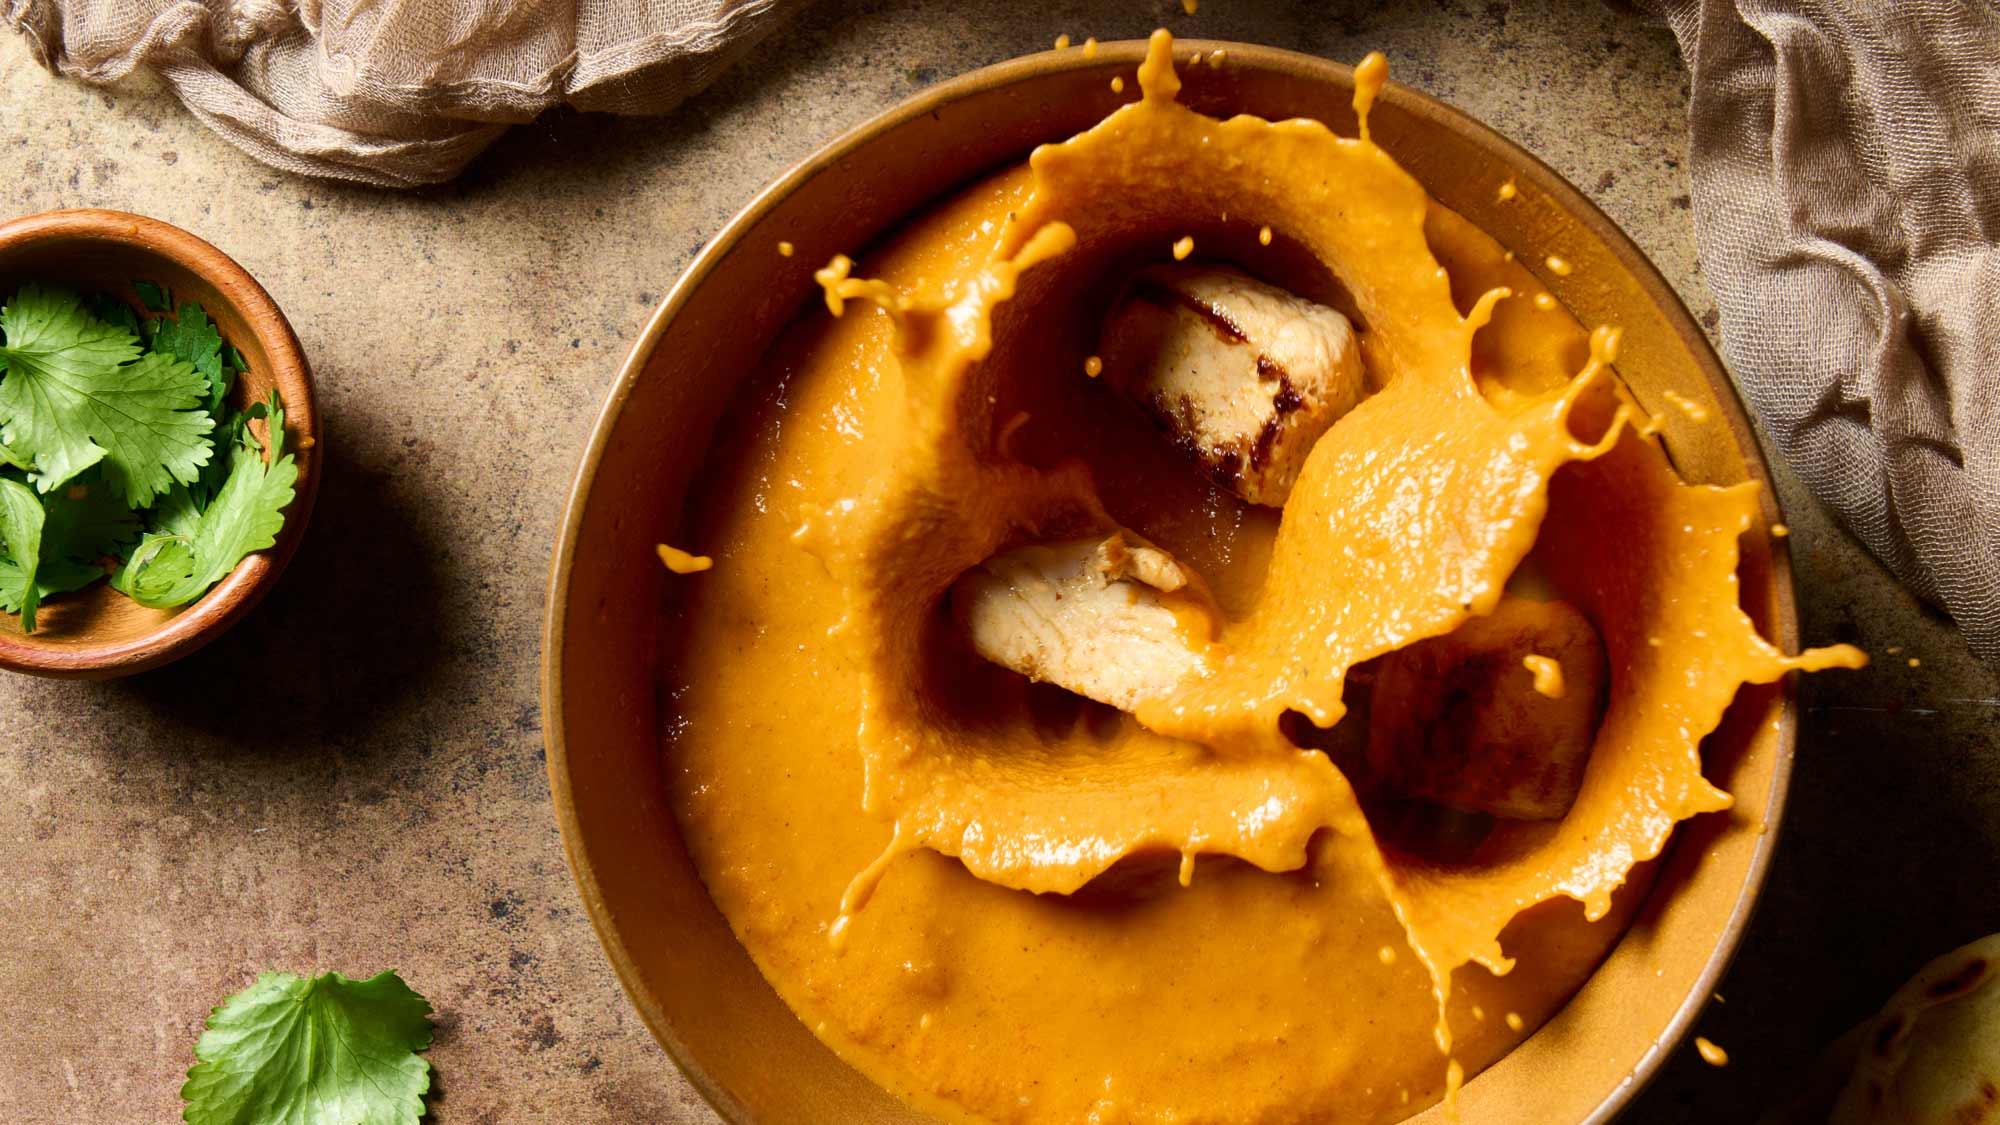
Chicken Tikka Masala – A Little Spoon
Like many people around the world, I have a deep obsession with Indian food. It’s flavorful and comforting and so difficult to not go back for seconds and thirds. I’ve been developing this Chicken Tikka Masala recipe for almost a decade now. It’s been an endless cycle of researching, learning and tweaking over and over until I felt like it was time to share publically.
If you read through the instructions, you’ll see several simple but maybe unfamiliar cooking techniques. They are meant to get as much flavor out of this dish as possible. I split the marinade into two stages, toast specific spices in oil right at the beginning of cooking and add other at the end, among other things.
And, as always, there are plenty of notes to help you make this dish yours. If you really want to go all out for this meal, make homemade naan with my all-purpose flatbread (with yeast) recipe and serve it with a
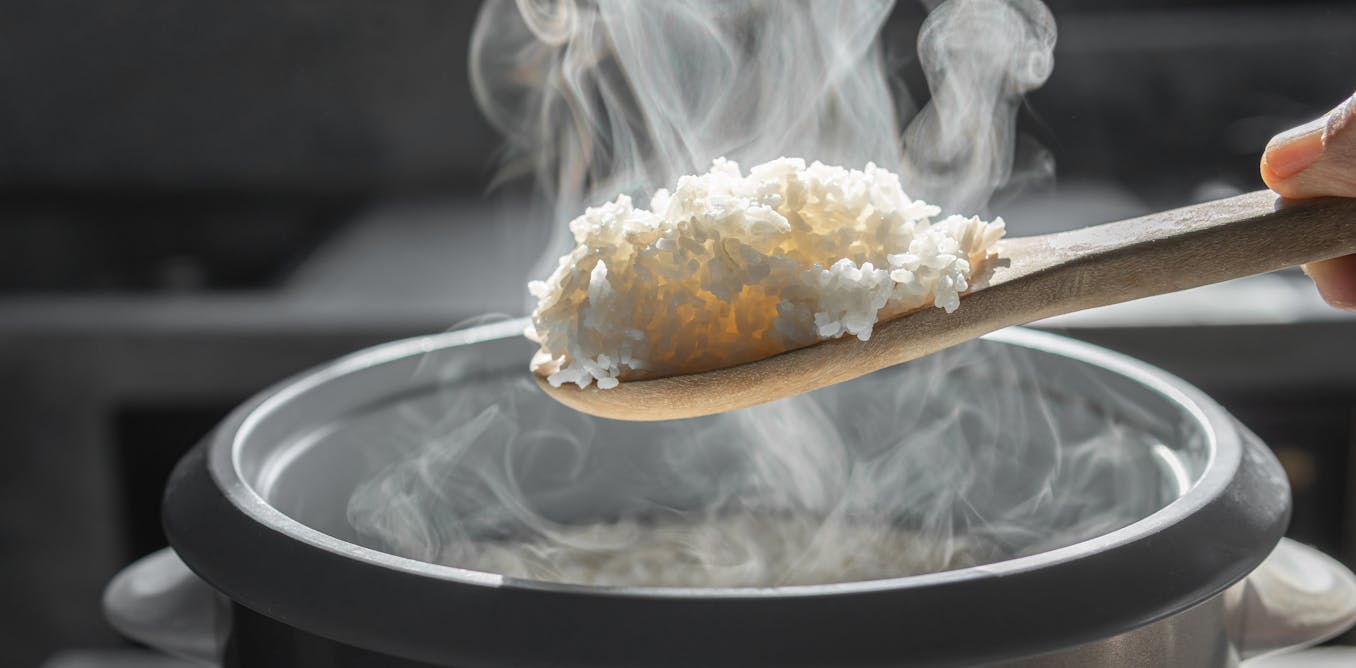
big batch of basmati (extra-long) grain rice.
Masala is essentially the word for a blend of spices. The term masala shows up often in Indian cooking; even in varying recipes that are known for different flavor profiles, like masala chai and channa masala.
Additionally, specific spice blends, like garam masala (a blend of warming spices: typically coriander seeds, cloves, cardamom (green or black), cinnamon, cumin and black pepper) are traditionally used in masala sauces. Since “garam” means “hot” the name is apropos I think.
Nothing gets by you does it?!
Technically, that is true, I do not list garam masala as an ingredient. However, if you take a second look at the Masala Sauce ingredient list, you will see all of the spices I listed as common in garam masala (except for cardamom and clove) are present.
Indian spice blends can vary enough between families that they are sometimes passed down from generation to generation. It’s all very subjective. The most important part of making or buying traditional blends (like garam masala) is that they maintain common flavor profiles for certain dishes. Specifc ratios and spices aren’t policed.
Because of this spectrum, I listed the individual ingredients and their measurments for consistency sake. If you want to use garam masala on top of what is already in the recipe, you can probably get away with adding ½ teaspoon (1.2g) to this recipe when you toast the spices in oil. If you want to replace the garam masala ingredients entirely, have fun! And make sure to taste and adjust as you cook!
The word Tikka (“small chunks” in Hindi and “small pieces or bits” in various other Asian languages) refers to the marinading of chunks of proteins in yogurt and other spices before cooking them on skewers over hot coals. No grill? A stovetop works in a pinch, just like with this recipe!
If on skewers over coals is what you are aiming for, cook this Chicken Tikka Masala recipe on a charcoal grill. If you want something a little cleaner tasting, go for a propane or natural gas grill. You can also finess a grill in your oven. Want a little more instruction than that? I got you!
Prep Tip: If you are using metal skewers, there’s nothing to prep. But wooden skewers require a good soak before cooking over a flame or they will burn. For ¼in (.6cm) skewers, soak for 30 minutes to 1 hour and for ½ in (1.3cm), soak for 1-2 hours. I don’t recommend going longer, because the wood can get way too soft and warp.
Gas Grill: Oil your grates before you turn it on, so the yogurt-coated chicken doesn’t stick too badly. Turn on the burners and close the lid to let the heat build. Adjust the dials until the temperature reachs about 400°F (204°C). While the grill is preheating, slide the chicken pieces onto the skewers. Do not squish them up against each other or they will cook uneavenly. When ready, place the skewers on the grill and close the lid for a few minutes. How fast your chicken cooks will depend on the size of the chucnks you cut. Follow the visual cues and thermometer temperatures from the recipe instructions
Charcoal grill: Again, oil your grates before you turn it on, so the yogurt-coated chicken doesn’t stick too badly. Stack your charcoal or briquettes in a pyramid shape with room to add starter fuild into the center of the pile. Light the coals and let them sit for 10-15 minutes. Once you see a gray layer of ask covering the coals, spread them in an even layer across the bottom of the grill with tongs or another long handled grilling tool. Cover until the temperature gets up to 400°F (204°C) and then the rest of the instructions are the same as the gas grill.
Oven: This time, start preheating your oven to 400°F (204°C) with or without convection (fan). Then, get a metal cake or lasagna pan (baking trays are too shallow) and cover it in aluminum foil. Divot the skewers into the foil to make sure they won’t roll and then thred the chicken onto the skewers. Place them onto the aluminum lined pan (if you want to place the pan on a lined baking tray to be safe, go ahead. Bake for 10 minutes and then flip, checking with a thermometer for doneness.
Masala has a heavily-spiced tomato, onion, and cream curry base. It’s also flavored with garlic, ginger, and garam masala. It’s savoury and slightly tangy, unlike Butter chicken, which is less spiced and typically on the sweeter side. Butter Chicken exclusively uses ghee, where Tikka Masala can use oil. And, lastly, you may see cashews getting blended into butter chicken for some added creaminess, nuttiness, and sweetness.
Spliting the marinade into 2 halves and using the aromatics (garlic and ginger), acid (lime juice), and salt only for the first 30 minutes creates a powerful quick brine. In just thirty minutes you can deeply imbue the chicken with flavor, because a bunch of oil and yogurt isn’t diluting it. The yogurt further tenderizes the chicken and acts as a vessel for the spices.
Absolutely! The chicken can be swapped out for Paneer, Roasted vegetables, or Legumes to make a Vegetarian Tikka Masala.
Of note: Aside from the protein, substitute either water or vegetable stock for the chicken stock in the recipe.
1. Paneer – Paneer is a soft pressed cheese made in the same manner as Farmer’s cheese. I recommend using 1 of these tips to prepare the cheese before adding it to the masala sauce.
Steep the cheese in hot, salted water for 10-15 minutes before adding it directly to the sauce. Or, marinate the cheese in the same manner as the chicken. 30 minutes for the first half and 1 hour (up to 4 hours) for the second half. Then, cook the marinated cheese on a cooling rack lined baking tray in your oven (450°F or 320°C for 15 minutes) or on a wired insert in your airfryer (390°F or 200°C for 6 minutes). After that, toss the paneer in the sauce and serve. I would not suggest pan frying because direct heat will harden the paneer. And deep or shallow frying is also out because the water or marinade would splatter A LOT!
2. Roasted Veggies – No introduction needed, chop up varying amounts of onion, bell pepper, cauliflower, and/or potatoes. (Dice the potatoes into smaller pieces, so they’ll cook at the same time as the other vegetables.) Cover them in a mixture of salt and the spices listed in both halves of the marinade. I do not recommend using the liquid or wet ingredients because they will steam or burn, neither of which we want. If you want to use ginger or garlic, consider adding them in their dried and ground form. Use ½ tsp (1.2g) of each. Then, toss to coat in about 2 tbsps (30ml) of a neutral oil. Bake at 425°F or 218°C for 30-40 minutes. When the vegetables are done, add them to the masala sauce and simmer them for 5 minutes before serving.
3. Legumes – Cannellini or Chana (chickpeas) are excellent in masala sauces. If you use canned legumes, drain and rinse them and then coat them in the same mixture I’ve outlined for the roasted vegetables. Once coated, bake at 425°F or 218°C for 12-15 minutes. Then, add them to the sauce and simmer for another 10 minutes before serving. Why bake? Much like with canned hominy in pozole, I’ve found cooking out the moisture from the can tightens up the legumes and gives them a starchier texture.
Garam masala – There is not a specific ratio of spices to follow, so it’s impossible to account for personal or store blends. If you have some at home you would like to add to this masala, you can add up to ½ tsp (1.2g). For consistency, I worked with whole ingredients and left blended spice mixes out of the recipe.
Asafoetida or hing – Made from fernula plant, this spice is strong smelling, but boy does it enhance flavor. To use it, add a pinch to the oil/ghee you are toasting and sautèing your spices in (right at the very beginning of cooking). You cannot sprinkle asafoetida into a finished dish or it will make it taste bitter. Asafoetida isn’t very accessible in US cities without an indian market nearby. You also have to store it properly because it has a very strong sulphuric scent. I left it out of this recipe for those reasons. But, you are absolutely welcome to add it if you have it.
Kasuri Methi – Dried fenugreek leaves, add an extra herbal element, but again might be difficult to find. These leaves taste fresh, and mildly sweet with a slight bitterness. Crumble a small amount (1-2 teaspoons or .5-1g) into the pot near the end of cooking, during the last simmer.


Post Comment